
Overview
Single sign-on is an authentication protocol that allows you to sign in to multiple applications with one centralized authentication. Helpwise supports single sign-on (SSO) using Microsoft Azure Active Directory.
You must have an account owner/admin Helpwise account to configure SSO
Important:
1. SAML SSO is only available for Helpwise Advanced Plan
2. You must have an account owner/admin Helpwise account to configure SSO.
How to configure Single Sign-on in Helpwise
Configure Azure AD SSO in Azure Portal
Follow these steps to enable Azure AD SSO in the Azure portal:
Step 1: Log in to the Azure portal and navigate to Azure Active Directory from the side menu.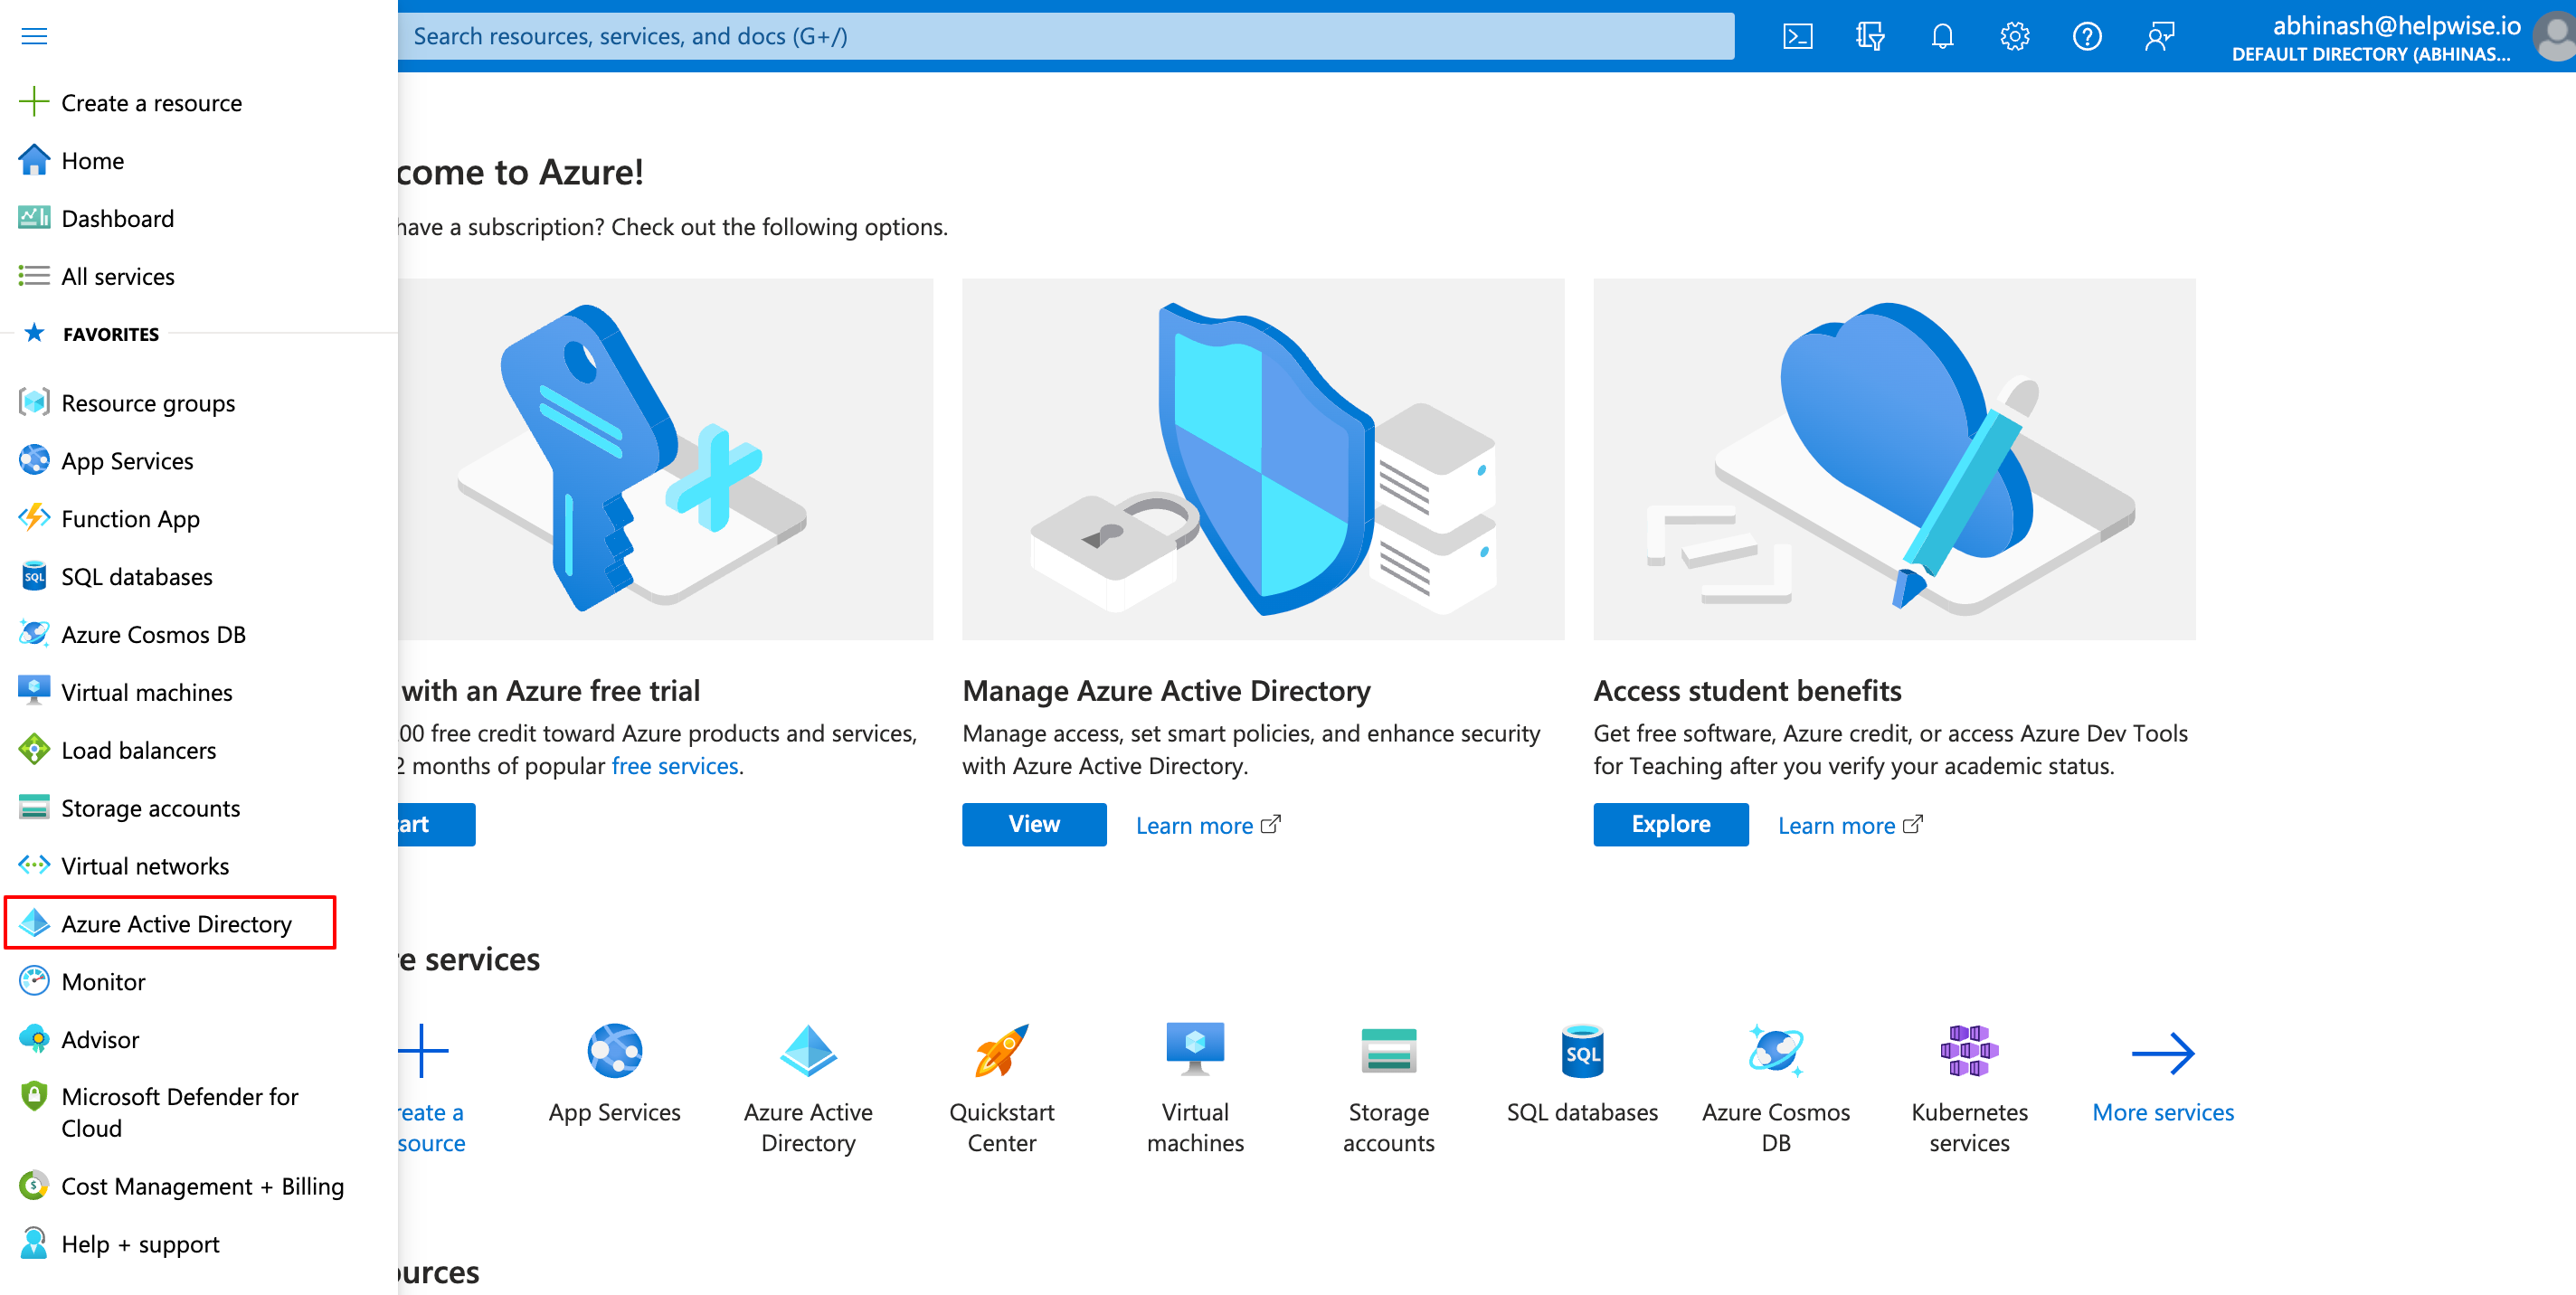
Step 1: Log in to the Azure portal and navigate to Azure Active Directory from the side menu.
Step 2: Under the Manage section, select Enterprise application.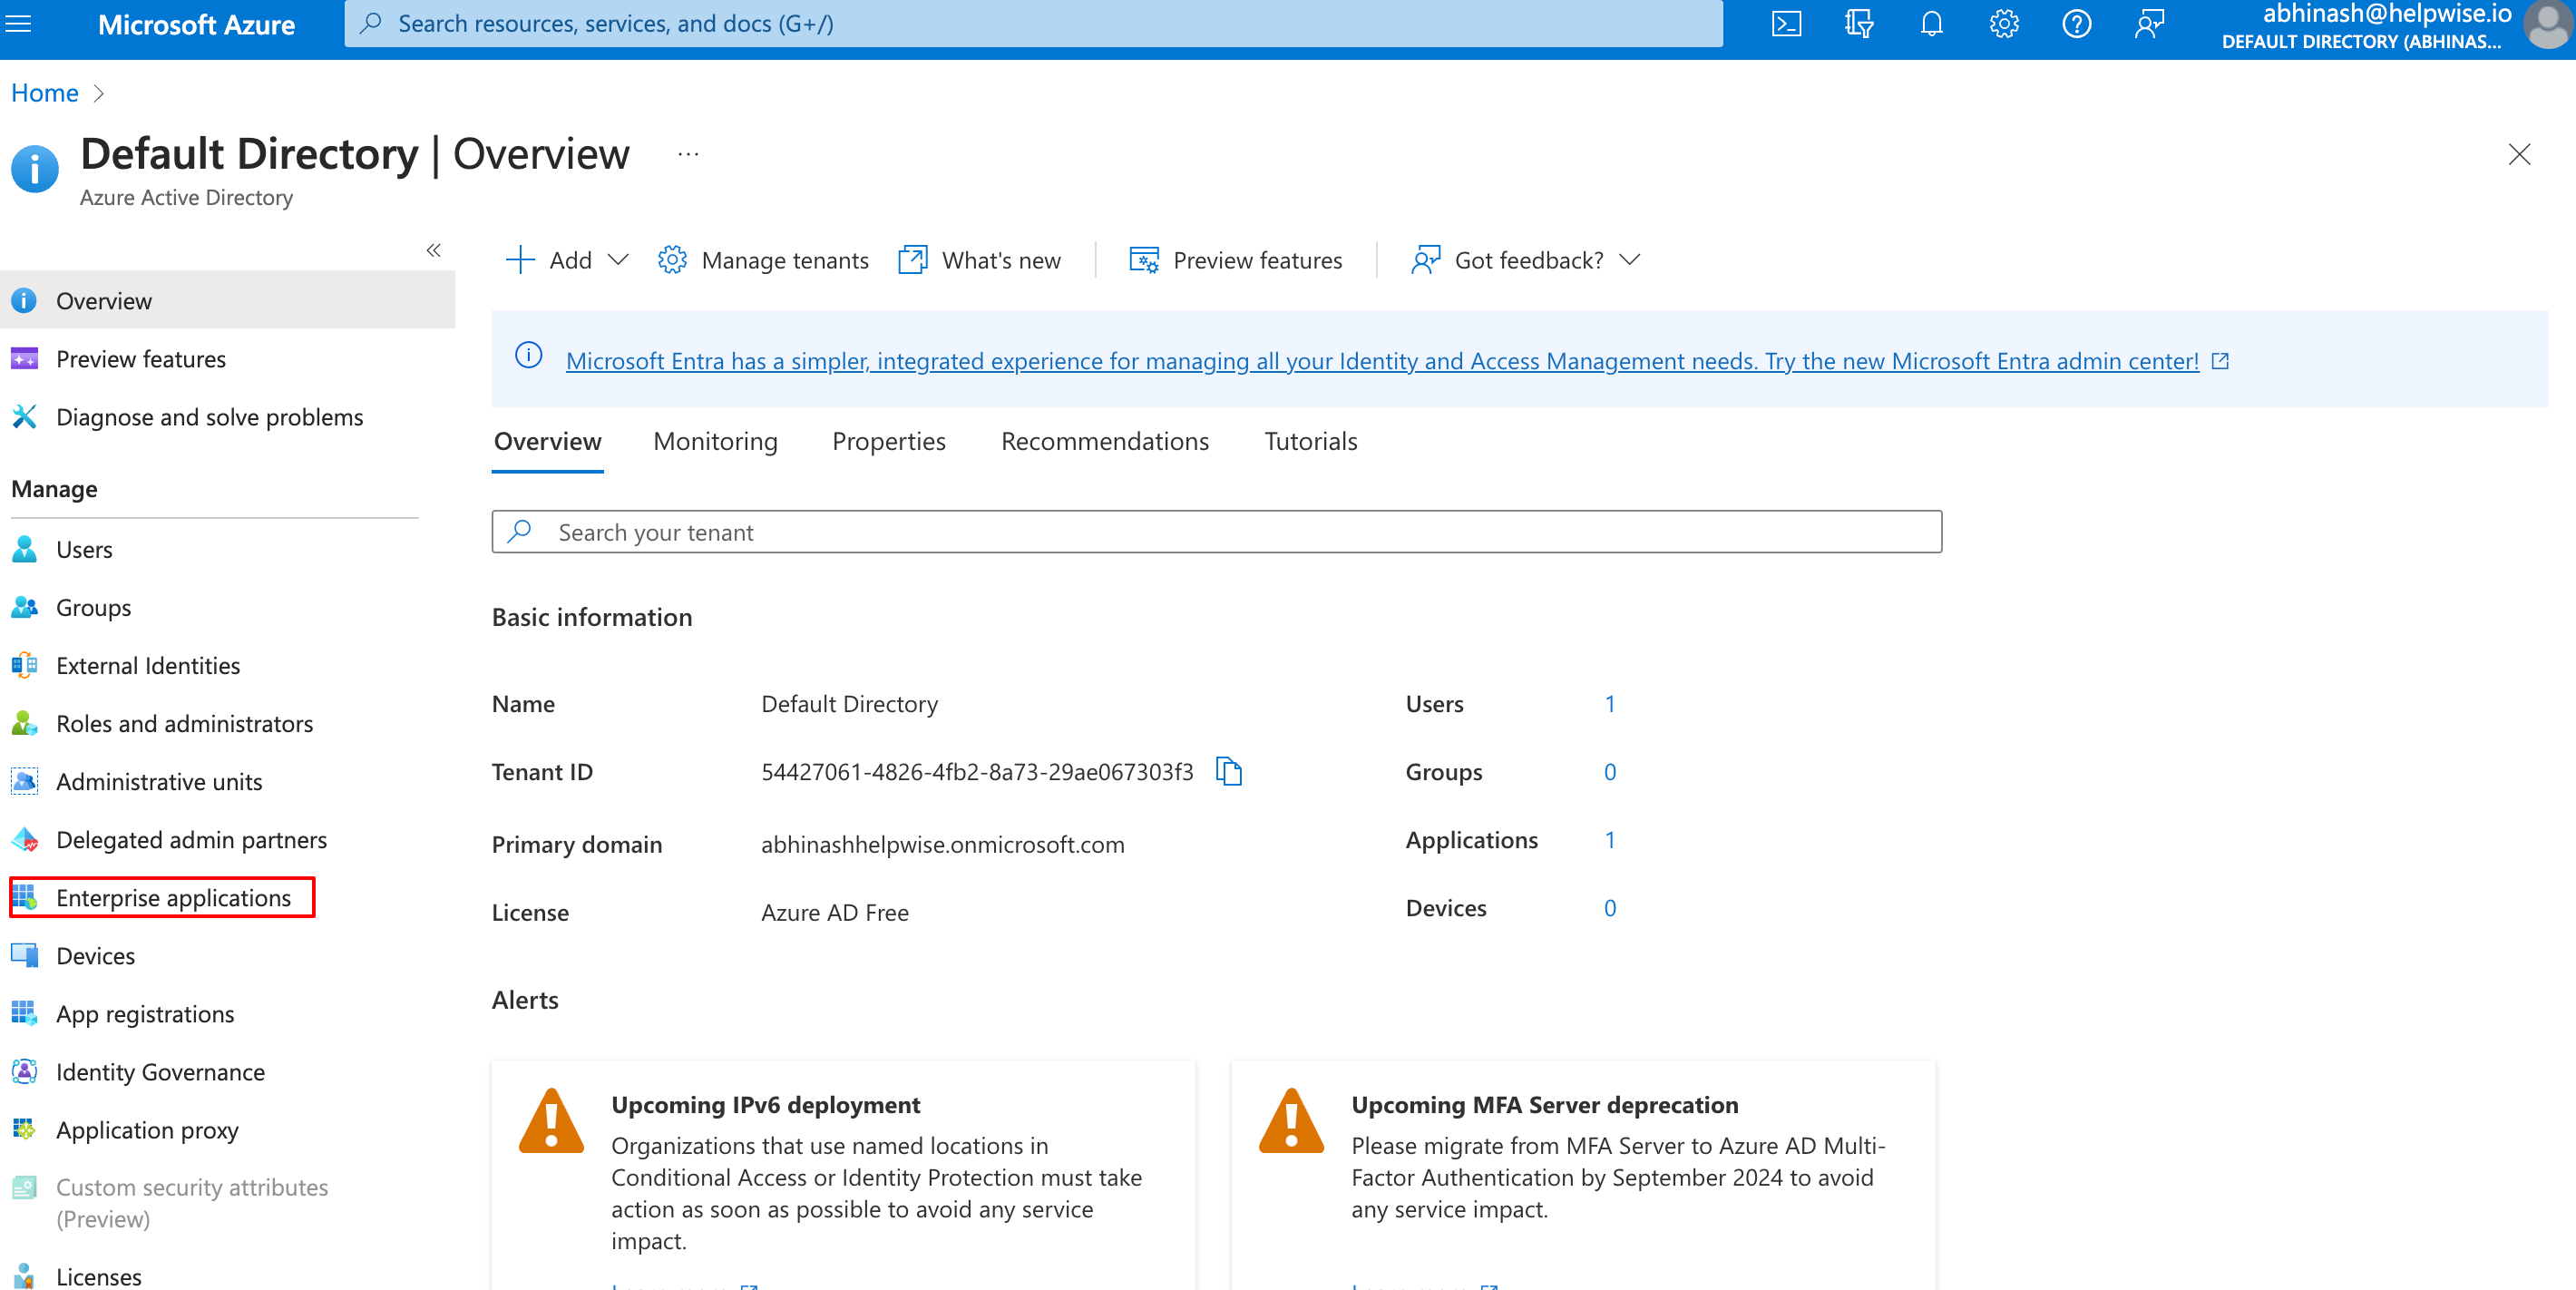
Step 3: Select New Application and create your own application as shown in the image.
 Creating your own application
Creating your own applicationStep 4: Click on Get Started in the single sign-on option and then select SAML.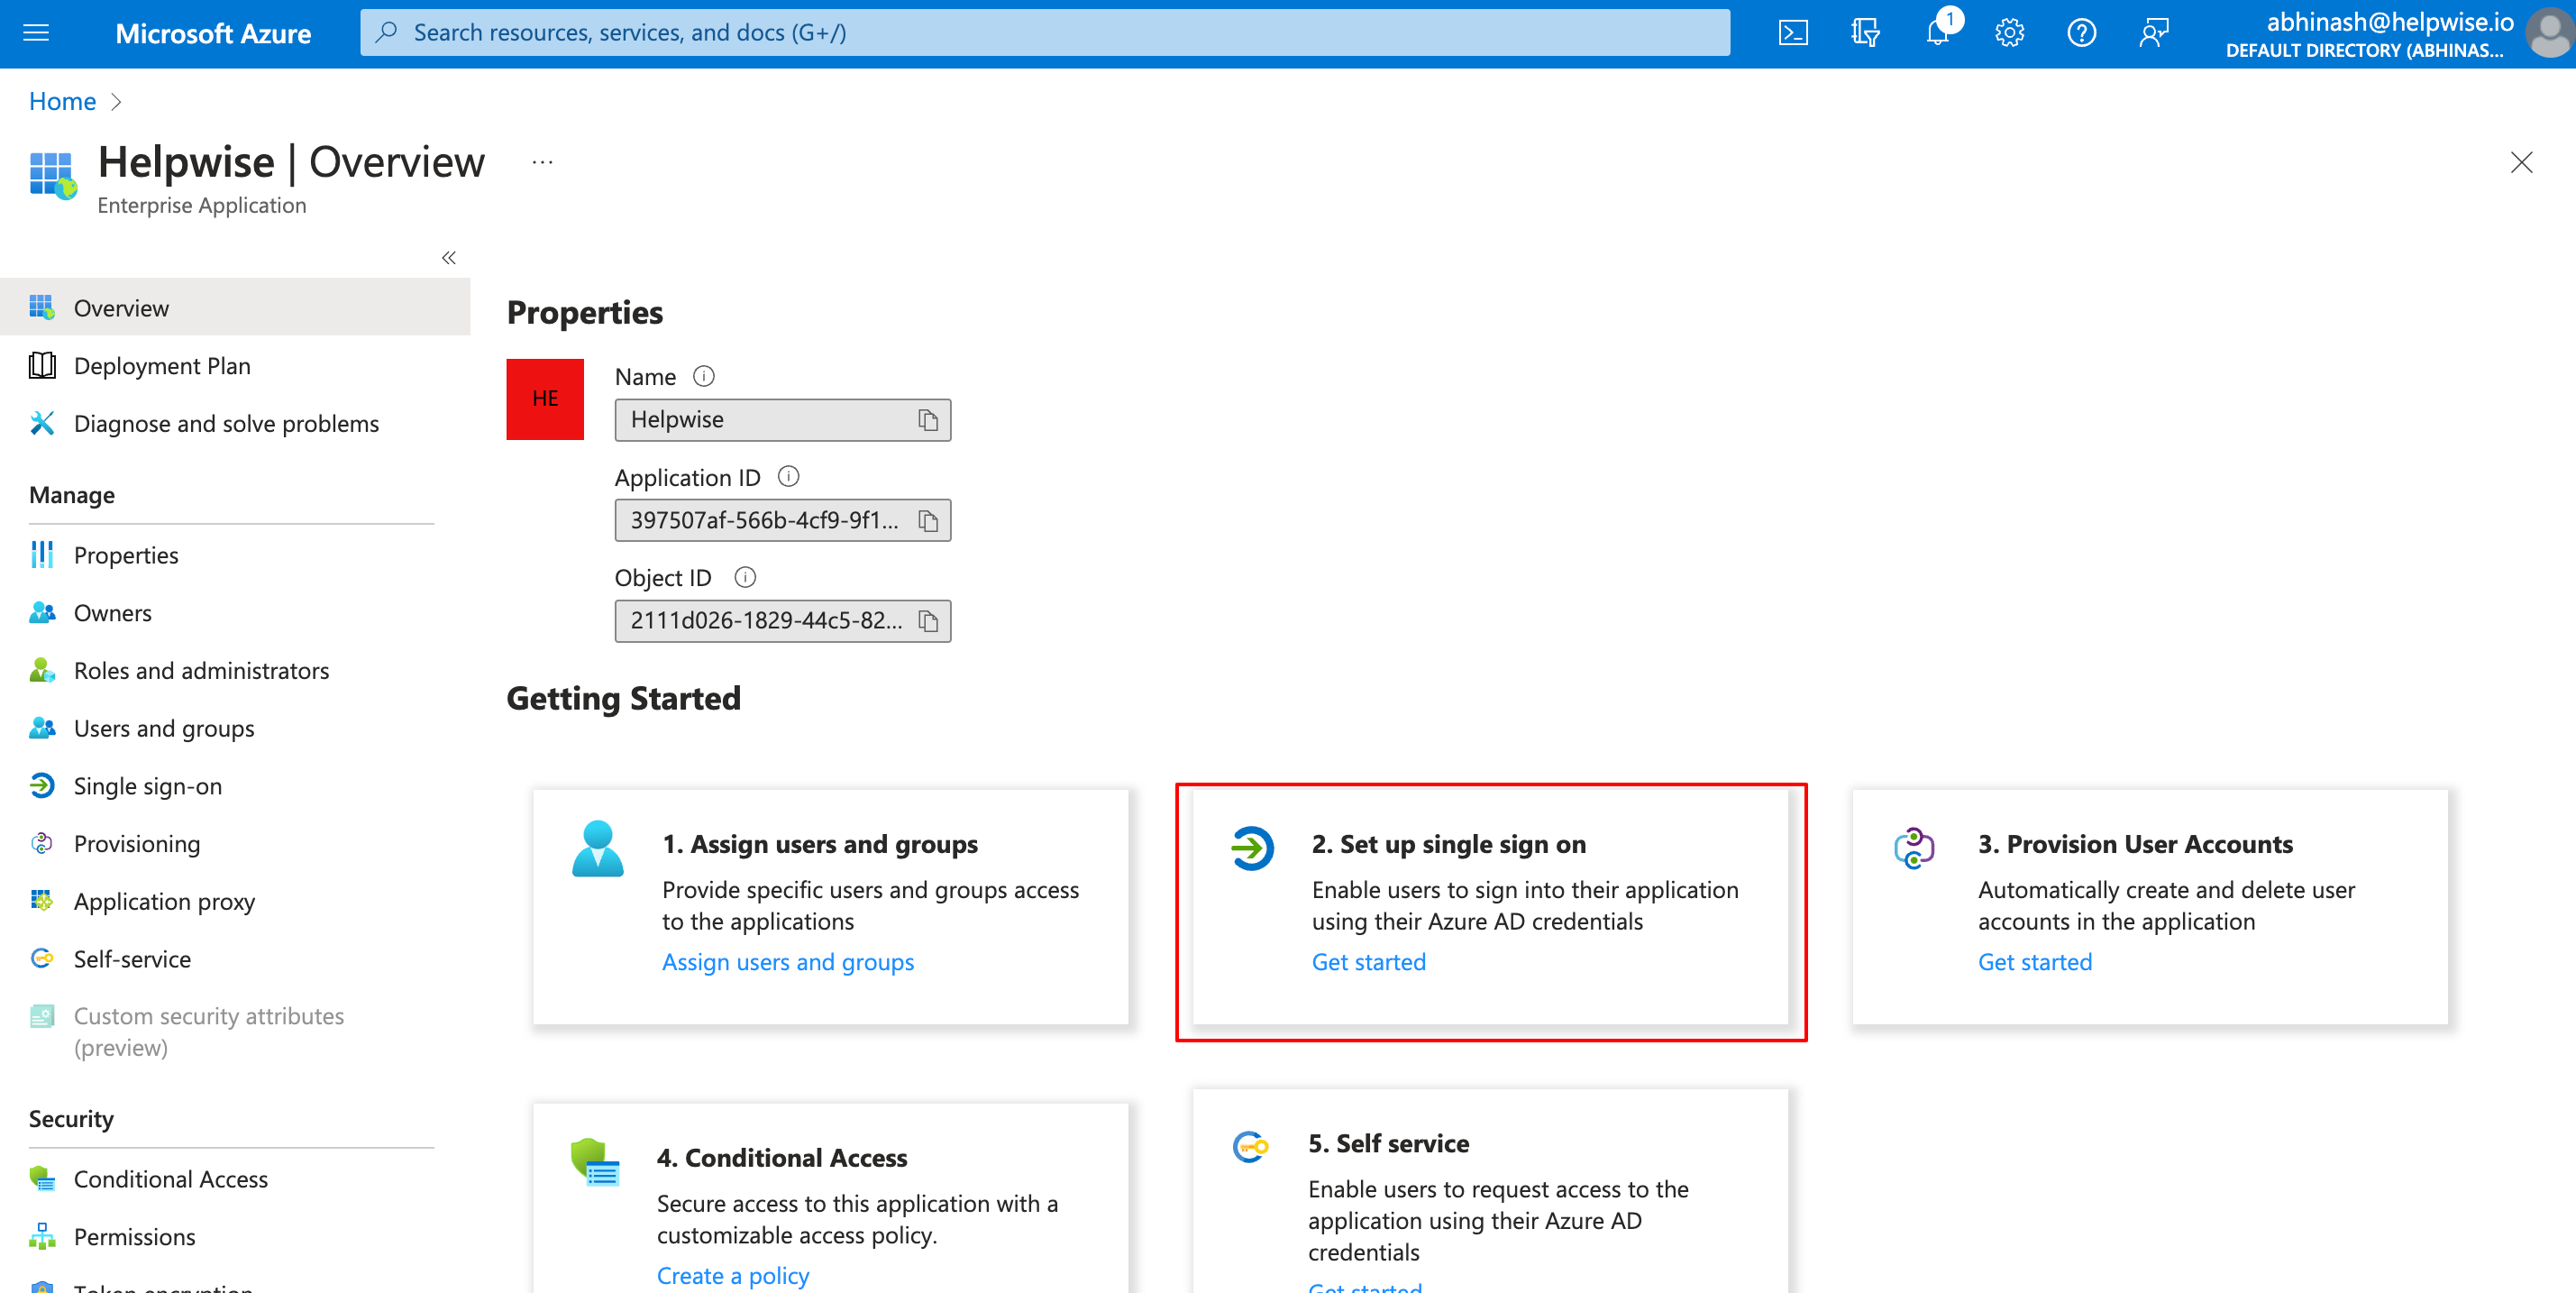
Step 5: On the Select a single sign-on method page, select SAML.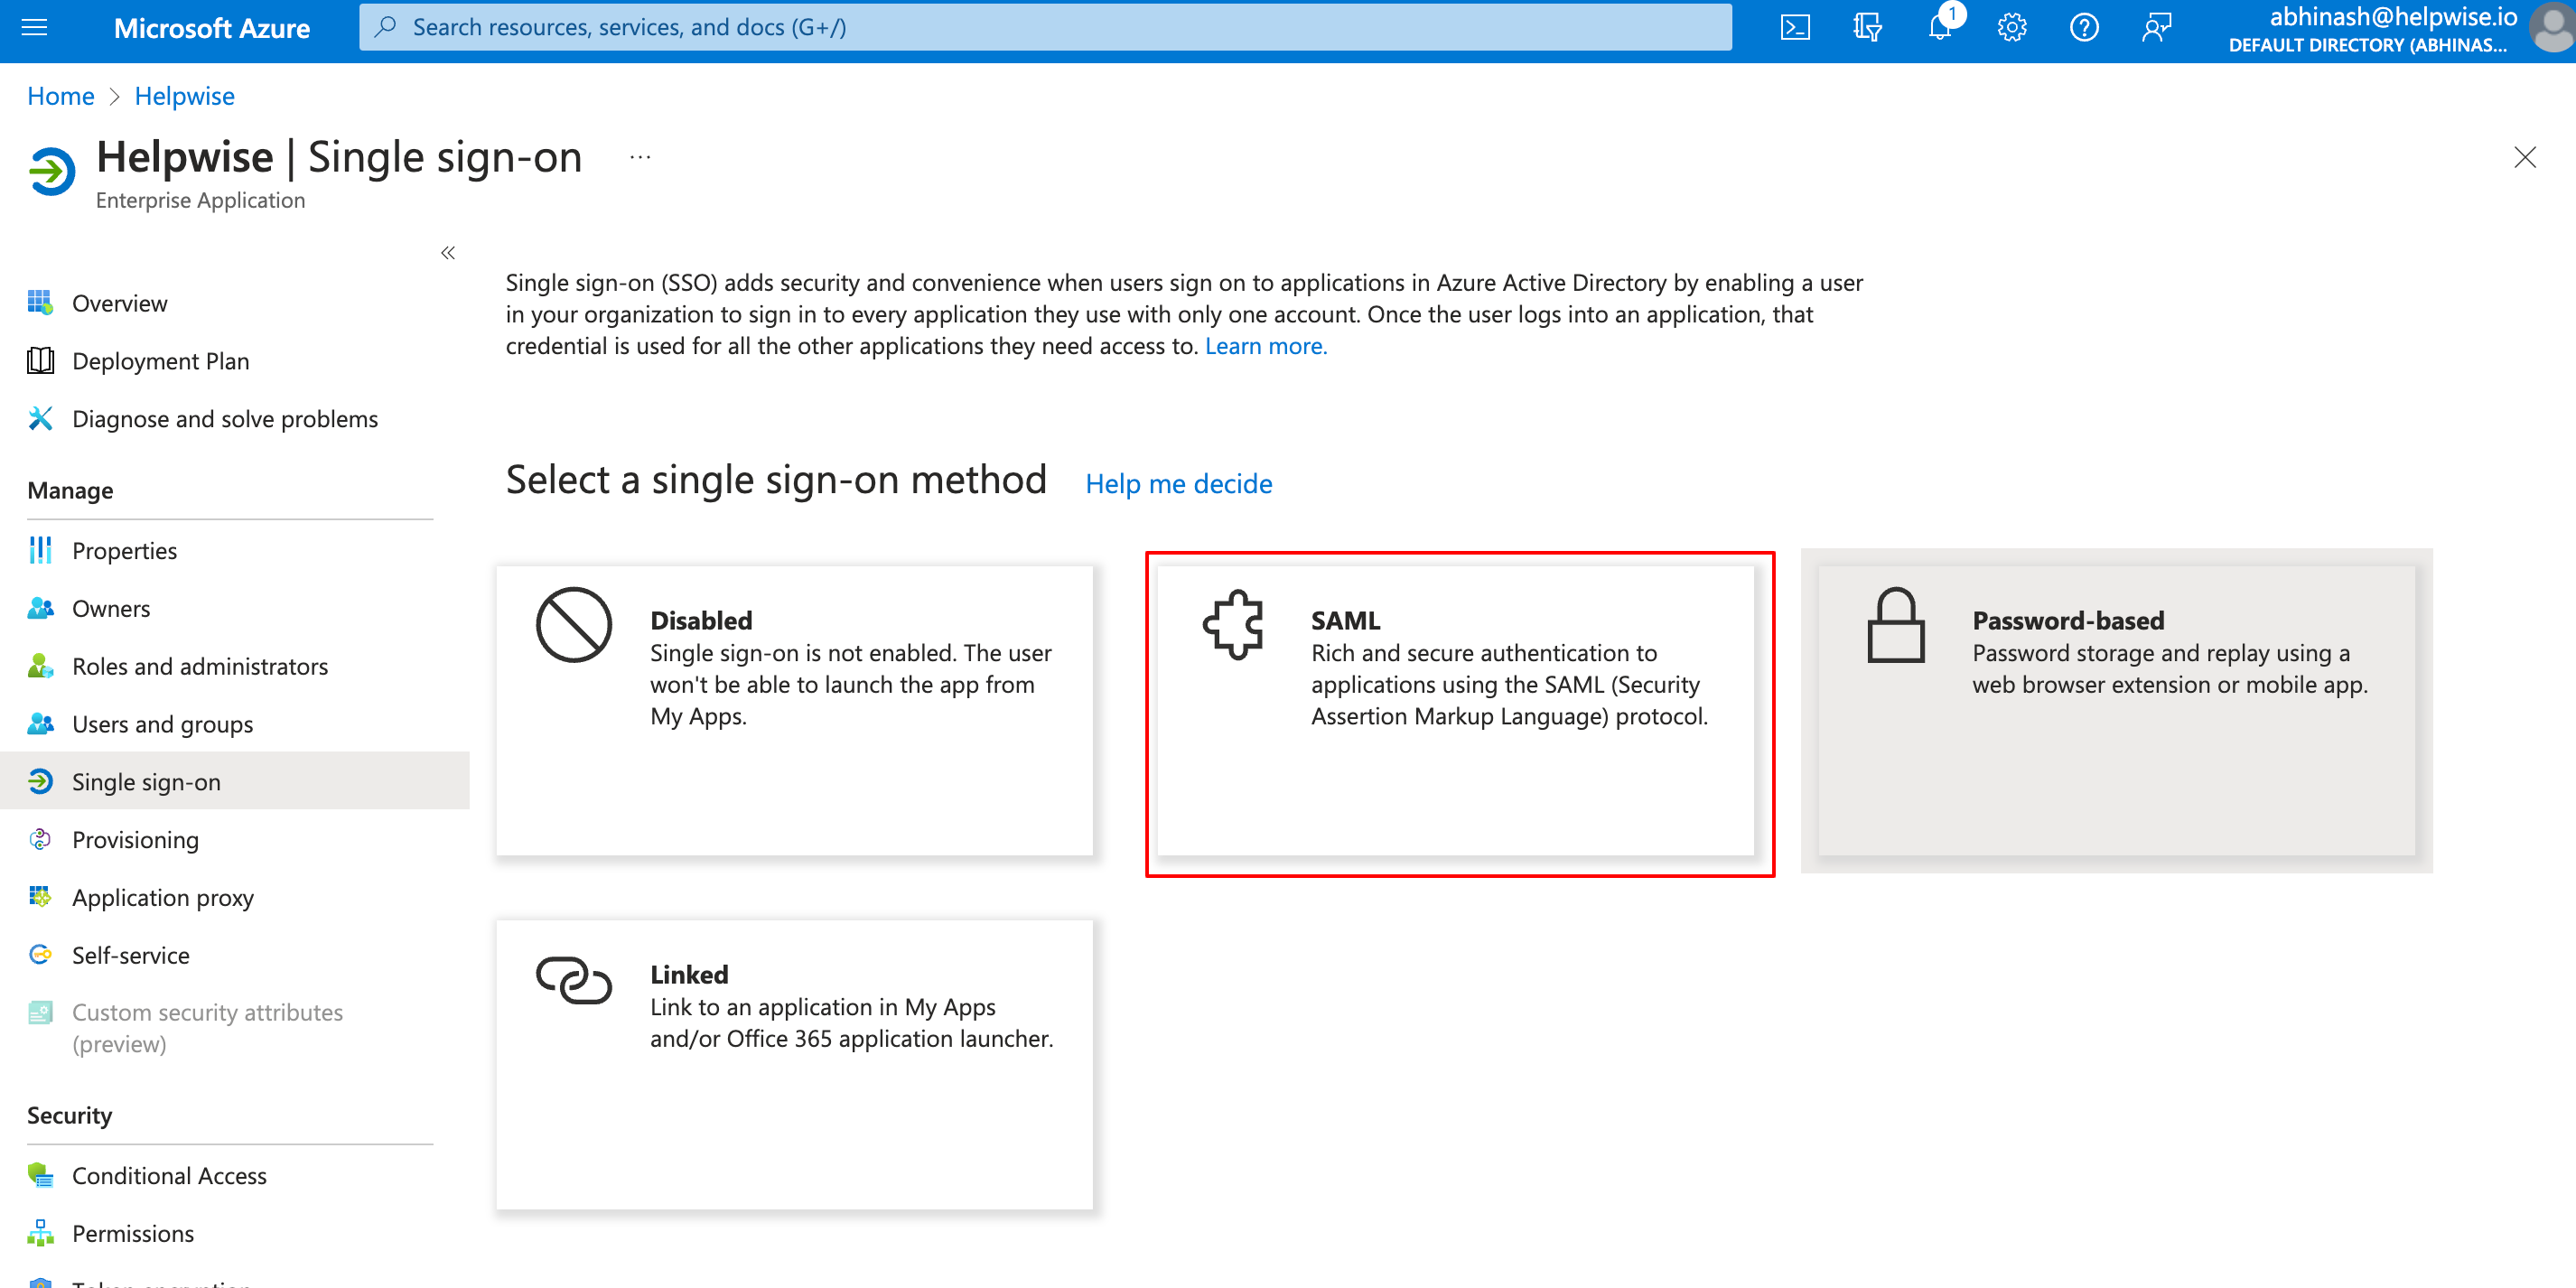
Step 6: On the Set up single sign-on with SAML page, click the pencil icon for Basic SAML Configuration to edit the settings.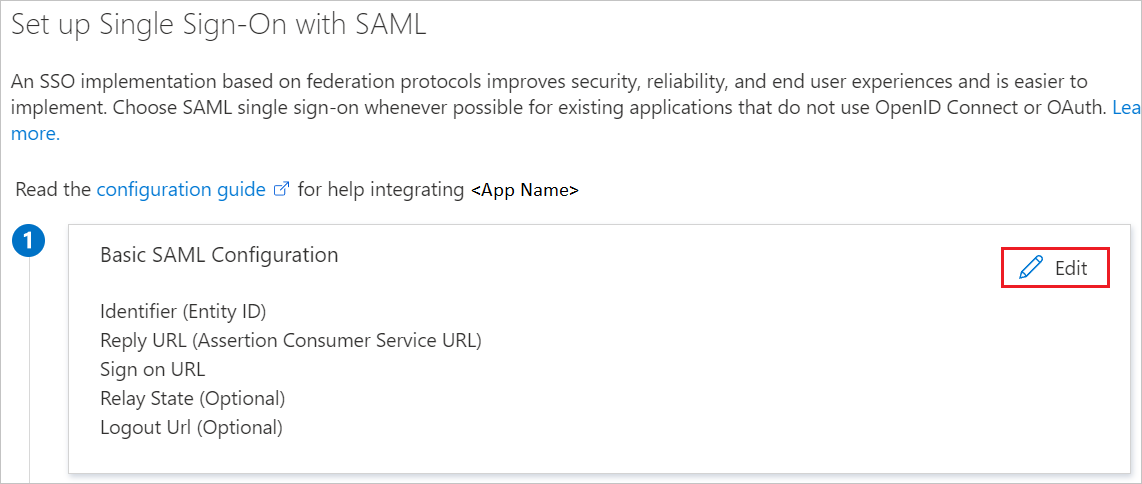
Identifier (Entity ID): helpwise-sso
Reply URL: https://go.helpwise.io/sso/login/azure/callback

Step 8: On the Set up single sign-on with SAML page, download Federation Metadata XML and copy the Login URL.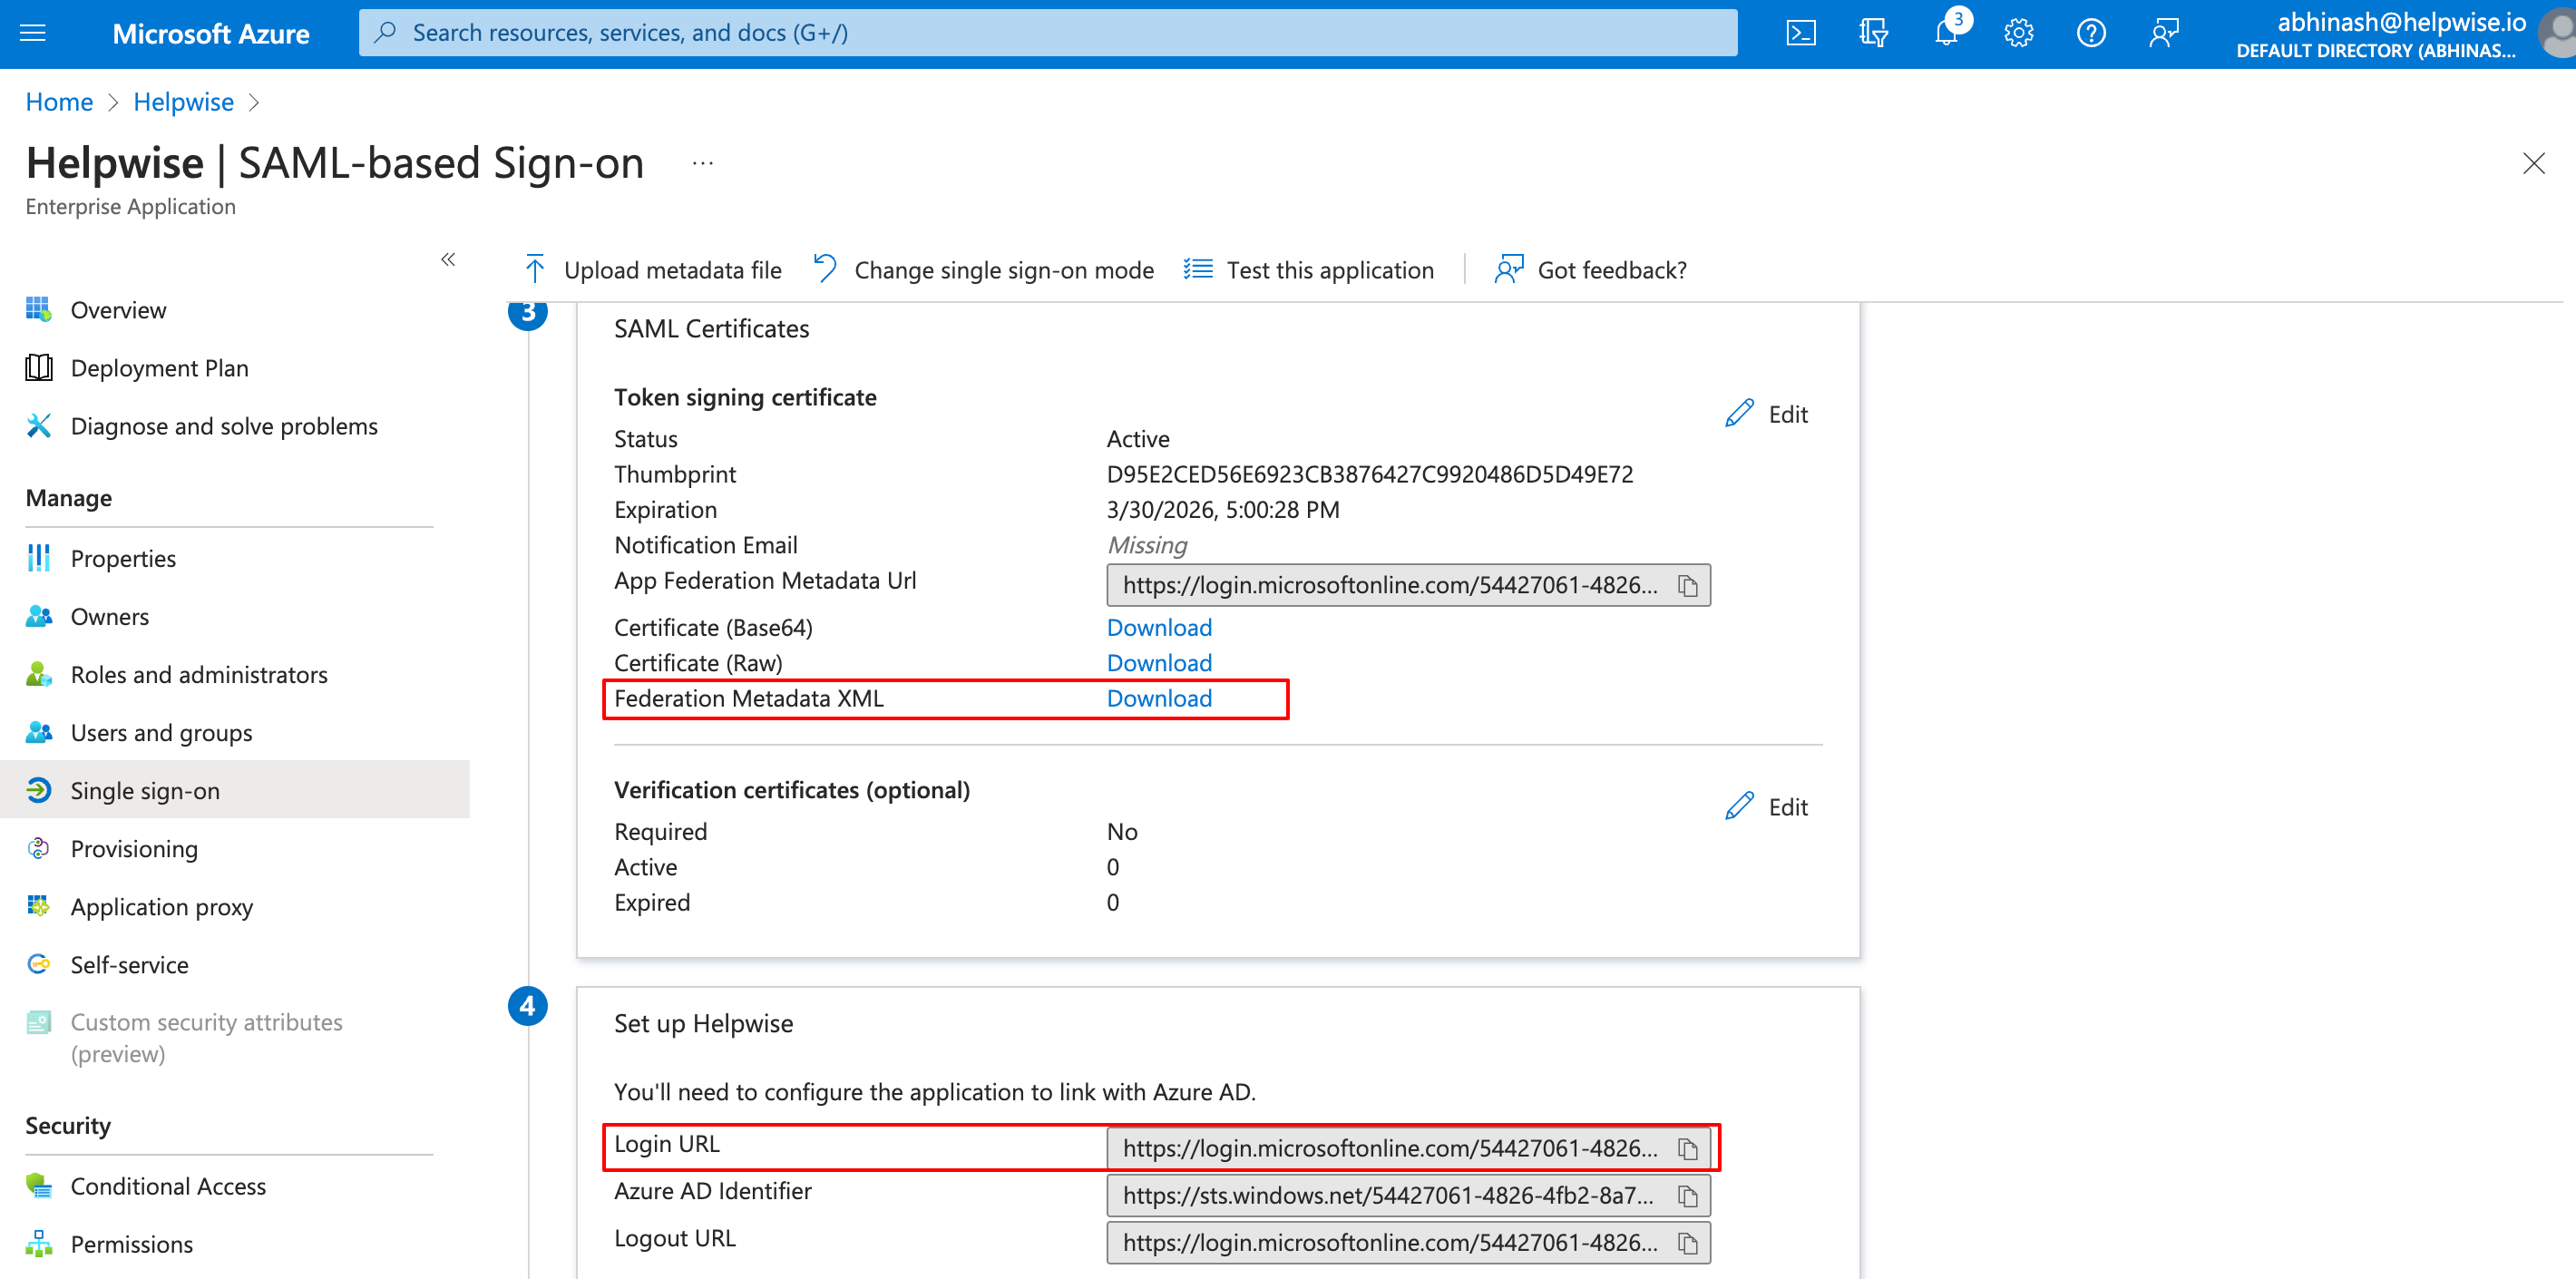
Step 9: Navigate to Users and Groups, and then select Add User/Group.
Note: SSO will be only enabled for the list of users/groups added here.

Configure Azure AD SSO in Helpwise
Follow these steps to enable Azure AD SSO in Helpwise:Step 1: Log in to your Helpwise account.
Step 2: Navigate to account settings and select SSO

Step 3: Copy and paste the Login URL from the Azure Portal (Refer to Step 8 in the previous section).
 Step 4: Open the downloaded Federation Metadata XML in your text editor. Select the data present in between <X509Data><X509Certificate> Data <X509Certificate> <X509Data> and copy-paste in the X509 certificate field shown above.
Step 5: On the Helpwise SSO page, select save and click on Test SSO.
Note: You will be redirected for Microsoft authentication and on successful configuration of SSO you will be back to Helpwise Dashboard.
 Step 6: Users will now be able to log in to Helpwise using the Azure SSO option from the Helpwise login page.
If you have any queries about Helpwise's Azure SSO configuration or anything around Helpwise, feel free to contact our live chat support or email at help@helpwise.io