When do I set up forwarding?
If you are using any other Email Service Provider apart from Gmail (Google Workspace) or Outlook (Microsoft 365) for sending and receiving emails, this is how you do it!
How do I set up forwarding?
Following are the steps to forward your emails to Helpwise: Note that this will only start forwarding emails going forward and will not migrate your previous emails.
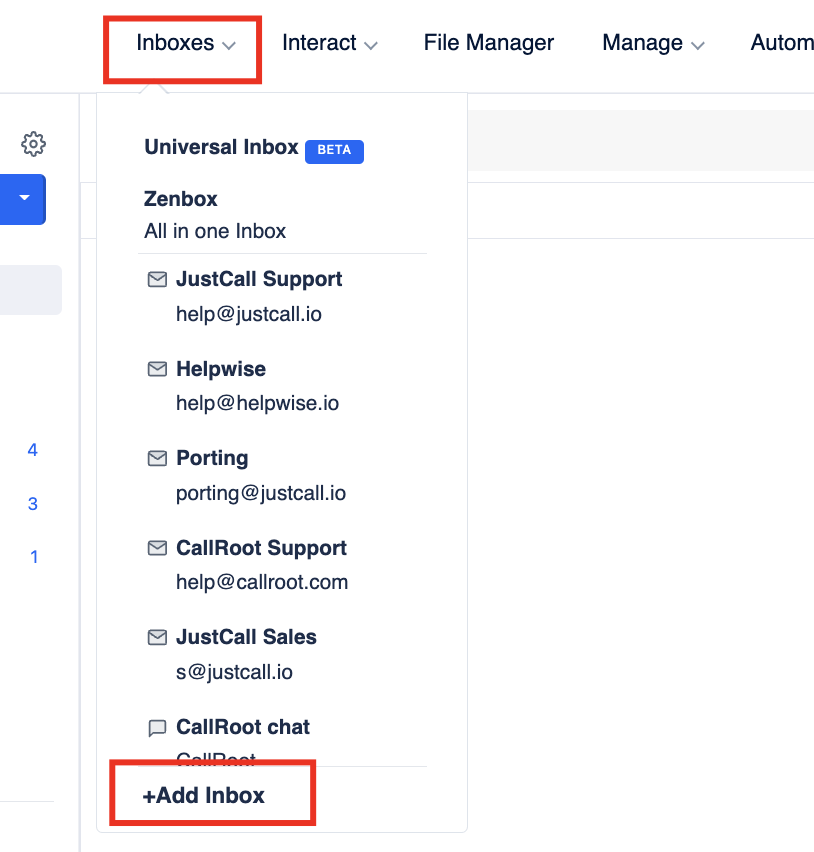
Select ‘Inboxes’ from the top navigation bar and go to ‘Add Inbox.
Click on the 'Other Email Client' card as shown in the image below.
The shared inbox page opens, where you need to enter the email address and mailbox name.
The next step is to add the team members to whom you want to give access to this inbox. You can add the team members or you can skip this step and move ahead by clicking on ‘Start Receiving Emails.’
Copy the forwarding email address of your Mailbox by pressing the copy button next to it.
Log into your email provider and find where to set up email forwarding.
Below is a list from other popular providers that explains how to forward your emails. Select your provider and follow the instructions to forward your emails to Helpwise. If your provider is not listed, you can search online for steps.
Now go to your Helpwise Inbox (from Home page or "Inboxes" on top navigation panel). Depending on the email provider you are using (e.g. Zoho, Gmail), you may get an email to confirm the forwarding. This step is not applicable for all email service providers. Click on the link to confirm and go back to your email account to check that the forwarding is verified.
Click on ‘Manage’>> Inboxes>> Search for Your Mailbox. This opens the settings of the respective mailbox.
Click on 'Test Forwarding to verify the incoming email settings. You should get a successful verification message.
Now set the outgoing email settings from the given four options.
You can use Helpwise.io (DNS) or configure SMTP to send your emails. Reach out to your IT team if you are not sure how to set this up. This step is highly recommended for optimum performance and better deliverability of your emails.
If you are using Helpwise.io to send your emails, make sure that you set up your DNS settings for optimum performance (all outgoing emails will display sent via Helpwise.io' if you do not set this up).
That’s all; your email account is setup, and you are ready to go!
Note: If you are setting up Gmail forwarding, you do not have to connect the Gmail sync in the inbox settings page. Connecting Gmail sync and forwarding together will result in receiving duplicate emails.