

You need to set up forwarding from your current email provider to Helpwise to start using Helpwise. Following are the steps to forward your incoming emails from Outlook to Helpwise:
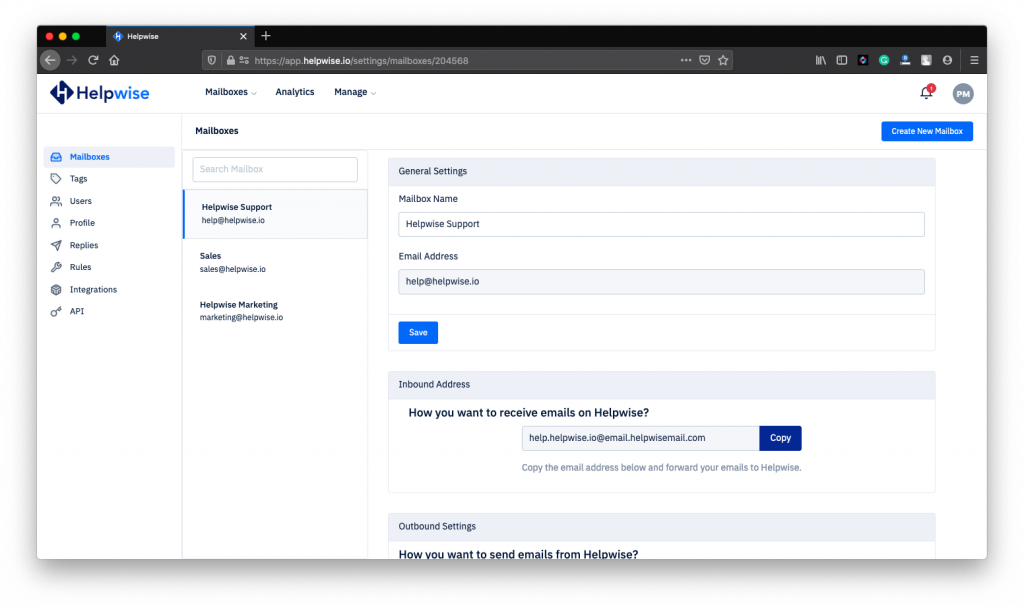
1. Copy the Forwarding Address of your Mailbox.
Helpwise gives you a forwarding email address in return when you create your mailbox or you can find in your mailbox settings after you have created it. Copy this email address and proceed to your Gmail.
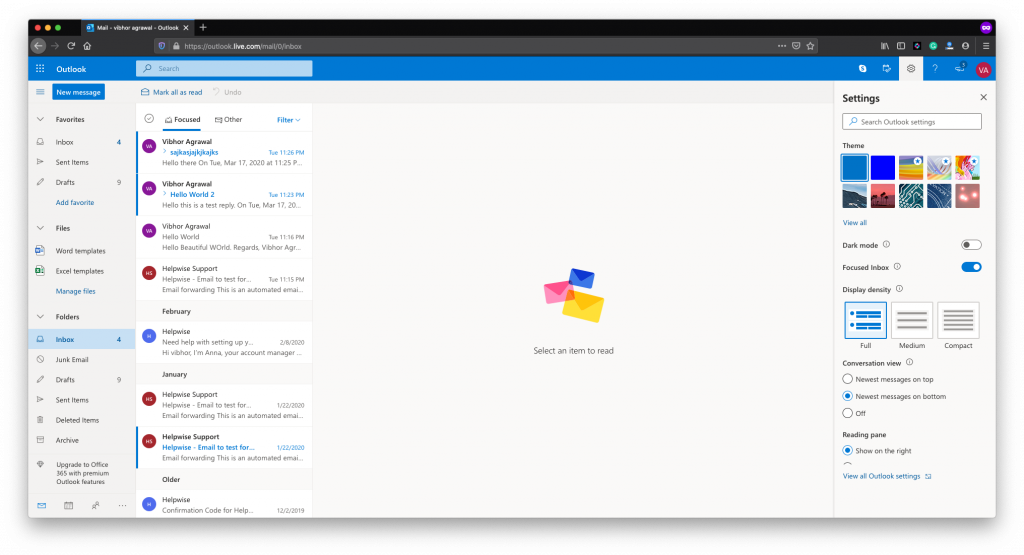
2. Go to Forwarding Settings in your Outlook Account.
Click on the gear icon to open outlook settings. Then click on View all Outlook Settings Link at the bottom. Then head towards the forwarding tab.
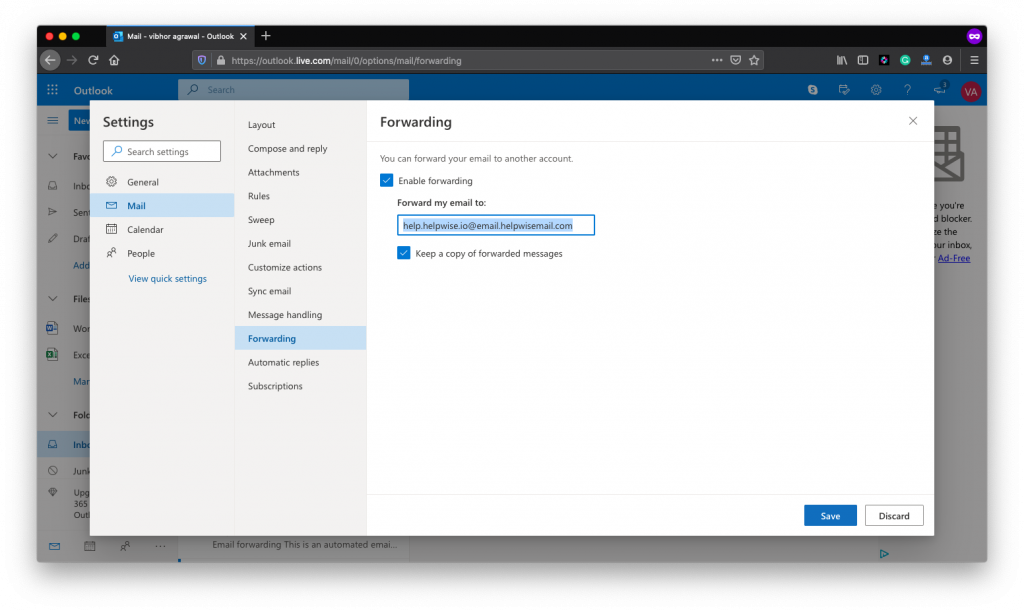
3. Paste your forwarding address as the forwarding address
In the forwarding tab, paste the address you forwarding address copied from Helpwise and press Save.
4. Verify these settings and you’re good to go.
Now head towards Helpwise inbox you just created and click on “Verify Now” button. It will automatically verify your forwarding settings
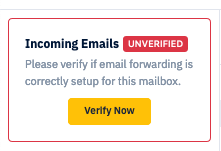
If you're unable to verify the email forwarding because of the following error shown in the screenshot below:

Please go through the following steps to enable external forwarding for your Outlook account (bare in mind that you would need an administrator account to do this)
1. Enable Automatic External Forwarding for All Mailboxes
Log in to your Office 365 Security & Compliance portal for Microsoft 365 and choose Threat management > Policy > Anti-spam or head directly to the Anti-spam settings page here: https://protection.office.com/antispam.
Note that the policies you see in your own admin may differ from those shown here, as these are only the default policies.

Find the section called Forwarding Rules, and the dropdown list called Automatic Forwarding Rules. Pull that list down and choose On - Forwarding is enabled. Click Save at the bottom.

Enable Automatic External Forwarding for Individual Mailboxes
Log in to your Office 365 Security & Compliance portal for Microsoft 365 and choose Threat management > Policy > Anti-spam or head directly to the Anti-spam settings page here: https://protection.office.com/antispamNote that the policies you see in your own admin may differ from those shown here, as these are only the default policies.

2. Click + Create an outbound policy.
The next step is to click on + Create an Outbound Policy button.
3. Configure Outbound Spam Policy
Give your new outbound spam filter policy a Name and Description.
Click Next and search to find the user account you want to allow to forward, i.e. the email account that you are forwarding to Help Scout, which will display under the Users field after you select it.Click Next again, scroll to the Forwarding rules section, and click the dropdown under Automatic forwarding rules. Choose On - Forwarding is enabled, then click Next.
Review the settings on the last screen and click Create to create your new outbound policy for the specified user(s).
