

Aliases must first be added on your email server (Gmail, Microsoft 365, etc.) to work on Helpwise [except if you are using DNS settings].
Once you have added an alias on your email server, proceed with the below steps:
1. Head over to inbox settings available under Manage > Inboxes and select the relevant inbox

2. Now scroll down and go to Aliases section for your inbox
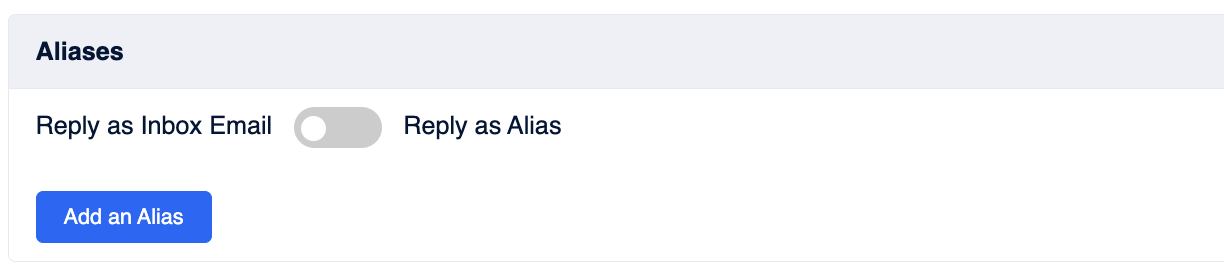
3. Now click on Add an alias button.
4. Fill in the name and email of the Alias you want to create
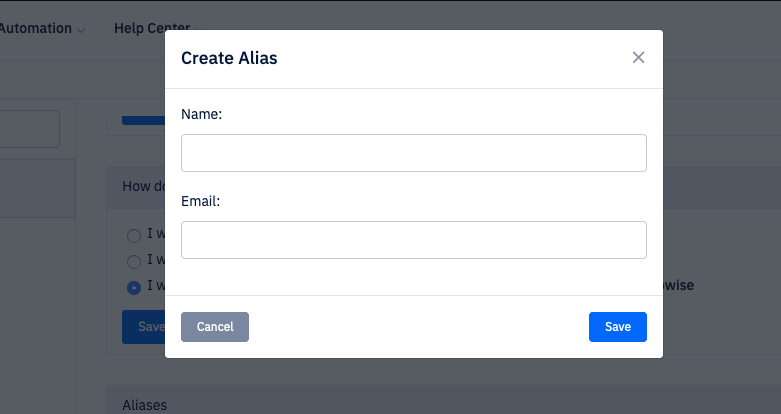
5. You will receive a verification link on the email you just added. After verifying you can use this alias.
6. Reply as Alias: If you toggle this on, the From address will be auto-selected as the alias address when your customers write to the alias email id.
For example, let's say your primary email id is david@helpwise.io and your alias email id is david.anderson@helpwise.io. If an email is received on david@helpwise.io, when you hit Reply, the From address will be the same david@helpwise.io. If an email is received on the alias david.anderson@helpwise.io, the From address will be automatically picked as david.anderson@helpwise.io when you hit Reply.
Note, that if your customer is writing to david@helpwise.io [primary] but you want to reply from david.anderson@helpwise.io [alias], you will have to select that manually.

After verifying your alias you're good to go. You will be able to use your alias for composing and replying to your emails.
Note: 1 Alias counts as 1 shared Inbox towards your inbox quota.